
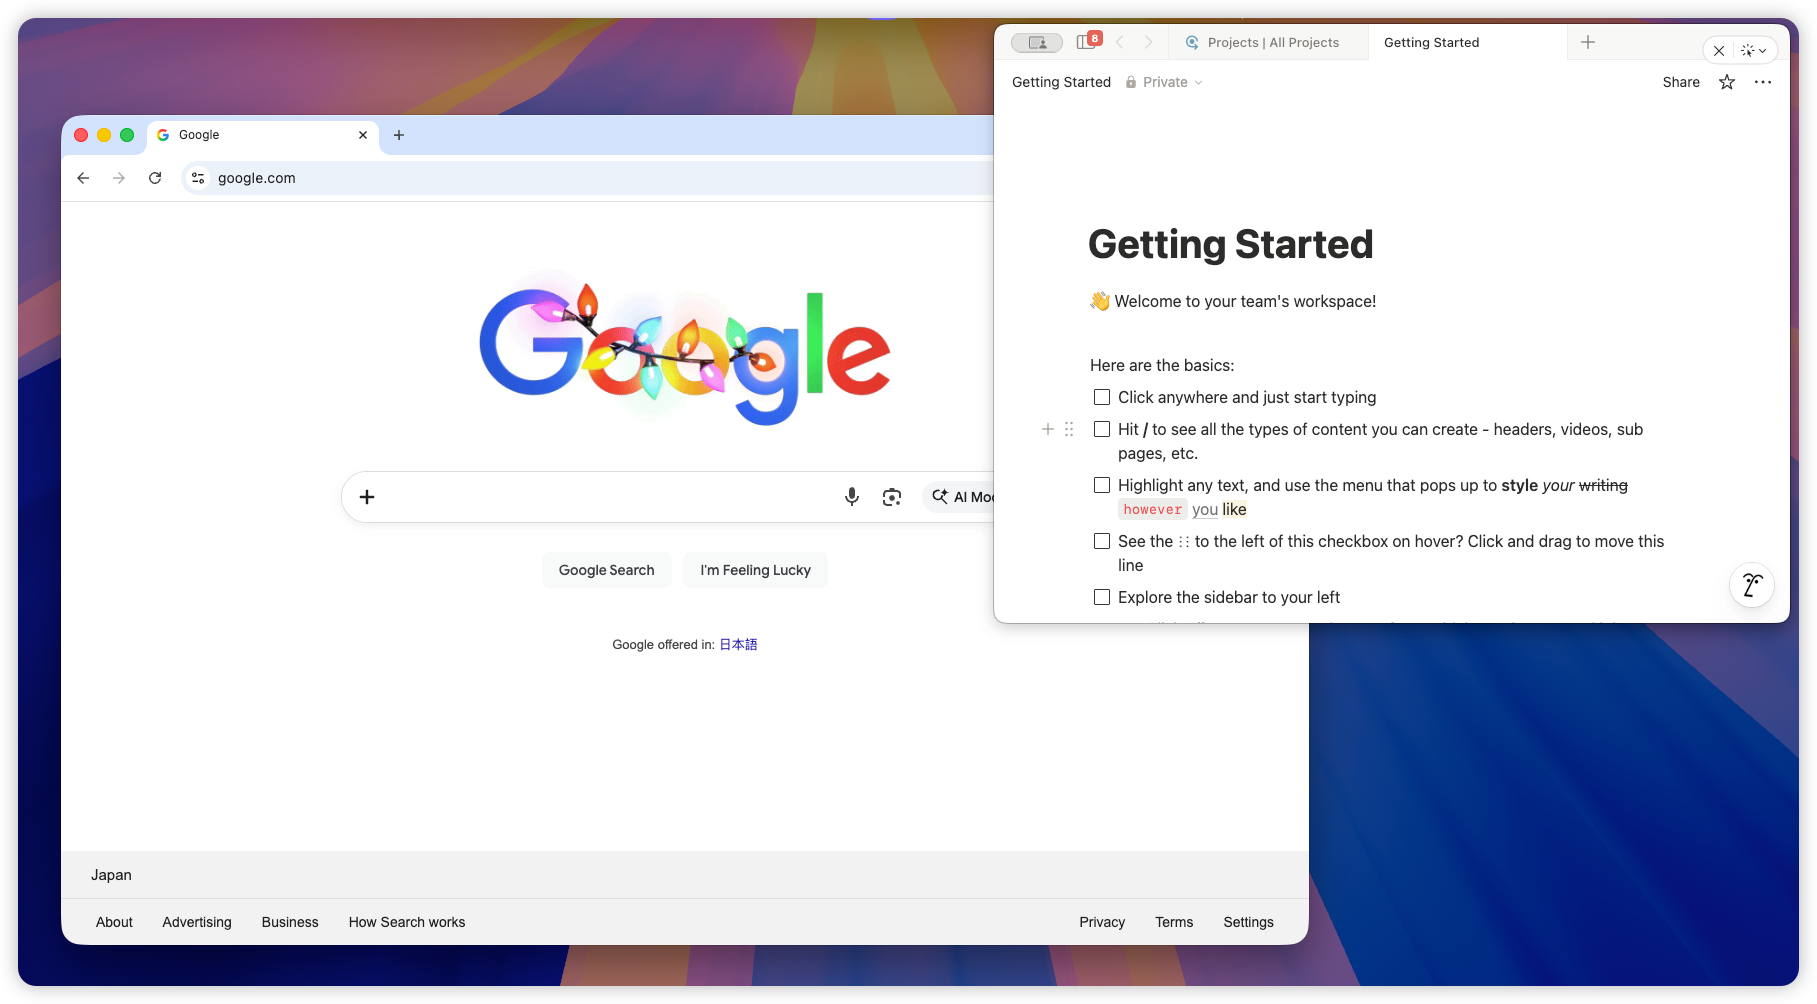
Notion is where many of us keep our daily notes, meeting agendas, docs, and task lists. The problem: the moment you switch to another app, your Notion page disappears behind everything else.
If you’ve been searching for “Notion always on top” or “pin Notion on Mac”, you’ve already discovered the catch: macOS still doesn’t include a native always-on-top button.
This guide shows the practical options that exist today (including what doesn’t work), and the simplest way to keep Notion on top on Mac when you need it as a reference overlay.
Why you can’t “pin” Notion in macOS settings
Unlike Windows, macOS doesn’t ship a system-wide Always on Top toggle. Window layering is managed by WindowServer, Spaces, and Stage Manager, and Apple doesn’t provide a first-party switch to force any app (including Notion) to stay above the rest.
So if you want Notion to remain visible while you work in Safari, VS Code, Figma, Slack, or Excel, you need a dedicated always-on-top tool.
The 3 ways people try to keep Notion on top (and what actually works)
1) Stage Manager / Split View (limited)
Stage Manager and Split View can reduce window chaos, but they don’t keep Notion always on top. The moment you click another app, Notion stops being the active window and may be pushed aside or hidden.
This can be fine for two-window work, but it doesn’t solve the “persistent overlay” use case.
2) Picture-in-Picture (doesn’t apply)
Picture-in-Picture is great for video. Notion is not a video player, so PiP can’t pin your Notion doc as an overlay.
3) Use an Always-on-Top tool (recommended)
A dedicated always on top mac tool can keep a window above other windows while you work (including Notion).
This is the cleanest solution when you want a small Notion checklist, meeting notes, or a TODO list visible while doing your main work.
How to keep Notion always on top with Floaty (step-by-step)
Floaty is a lightweight macOS utility designed to keep any window always on top with a simple workflow.
Step 1: Open Notion and the page you want to pin
Pick the Notion page you want visible, such as:
- Meeting agenda
- Daily checklist
- Coding TODOs
- A reference doc
Step 2: Open Floaty and select the Notion window
Launch Floaty and choose the Notion window from the list.
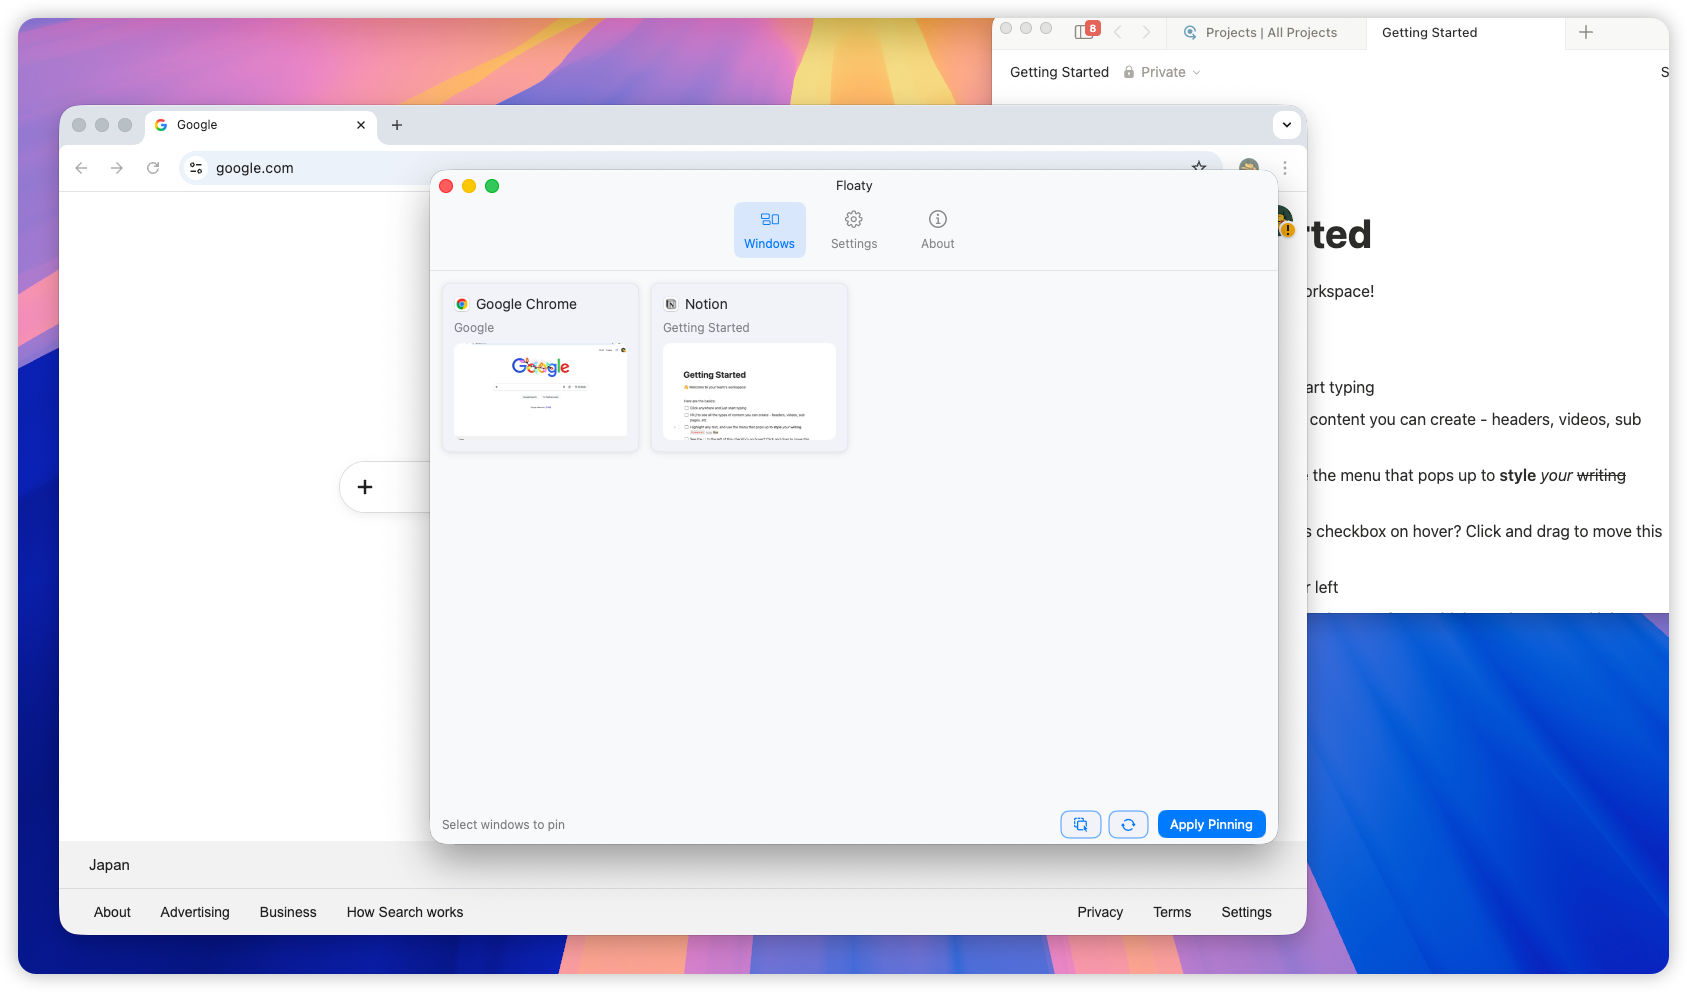
Step 3: Apply pinning
Click Apply Pinning to keep Notion above all other windows.
If you want a minimal overlay, resize Notion down to a compact panel and park it in a corner.
Step 4 (optional): Adjust opacity
For a “reference overlay” feel, lower opacity so your Notion content stays readable without blocking the app behind it. Many people start around 50–70%.
Step 5 (optional): Use click-through for a true overlay
If your goal is to see Notion without accidentally interacting with it, enable click-through (in Floaty this is typically done by setting Activation Mode to None). Then you can keep working in the app underneath while Notion stays visible.
Best Notion always-on-top workflows (quick ideas)
- Meetings: pin a Notion agenda above Zoom or Google Meet so you never lose your place.
- Deep work: keep a “today” checklist pinned while coding or writing.
- Research: pin a Notion notes page while browsing in Safari/Chrome.
- Design: keep requirements pinned while working in Figma.
FAQ
Does Notion stay on top across multiple monitors?
Yes. A pinned Notion window stays above other windows on whichever display it’s on.
Does this work in full-screen mode?
macOS full-screen apps live in separate Spaces. For best results, keep Notion and your main app in standard (non-full-screen) windows before pinning.
Why does Floaty ask for Accessibility and Screen Recording permissions?
On modern macOS, always-on-top utilities rely on Apple’s system APIs to identify and manage windows. These permissions enable overlay/window control on your Mac; the workflow runs locally.
Keep Notion visible while you work
If you want the simplest way to keep Notion always on top on macOS, Floaty is built for that workflow.
Want the full multitasking setup? Read: